Updated: November 2nd, 2023
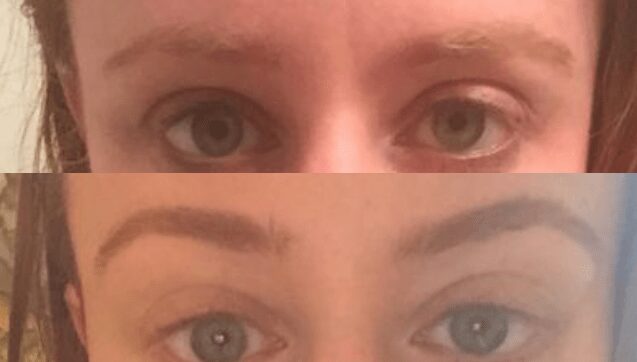
Back in 2014, we published our first article on eyelash and eyebrow tinting for redheads. The expert we spoke to recommended eyelashes always be done by a trained esthetician (we totally agree), BUT redhead eyebrows could be easily achieved at home. Over the years, we’ve received numerous inquiries on what brow tint is actually the best for redheads and we’re breaking it down into an easy step-by-step tutorial below.
Top 5 tips:
1. Worried the dye will irritate your skin?
Do a small patch test on your wrist or palm to see how your skin reacts to the product.
2. Don’t know what color dye to get?
Always go one of two shades darker than your red hair.
3. How about what brand to turn to? Here are several ‘redhead friendly’ brands we recommend:
Refectocil Red 4.1 Eyelash and Eyebrow Tint
Just for Men Beard and Mustache Dye: While they don’t have a ‘red’ shade, they do have a few different blonde (light to medium) shades that work great on redheads.
Tintocil Auburn Cream Dye Brow Tint
4. Do you need to shape them? Make sure to do this before tinting them.
READ: Face-Framing Brows For Your Red Life
5. How about if your brows come out too dark? That’s why we like to cleanse after tinting –– that way if they are a bit too dark, you can remove the dye by gently cleansing the brow area. If it’s still too dark after cleansing, use your shampoo (option to add a few tablespoons of baking soda to the mix) to clean your brows.
Next, follow these easy steps the next time you’re thinking of dyeing them at-home:
1. Make sure your eyebrows and the area around the brows are both clean.
You can apply Vaseline around the brow to act like a barrier came –– making sure the dye doesn’t stain your skin.
2. Grab your product and start filling in the brow area.
We’ve found the best way to apply the product is to disperse the dye on the brow using a synthetic lip brush and then brush it throughout using a spoolie brush. Brush from the inner corner and work your way outwards. Make sure you get right up in there to reach all the little baby hairs and use any leftover product on the brush to fill in the outward part of the brow. You don’t want this part of the brow to look really dark. It’s natural for these hairs to be a tad bit lighter.
3. The waiting time really depends on the manufacturer of the product.
Read the back of the instructions to see what they recommend. We’ve found waiting one minute is the perfect amount of time, especially if it’s your first time and you’re a little nervous. The worse that can happen is it’s not dark enough and you need to apply a second time to get the right tint.
4. After the time is up, start gently removing the dye with a wet cotton pad.
5. Repeat steps 2-4 on the second brow.
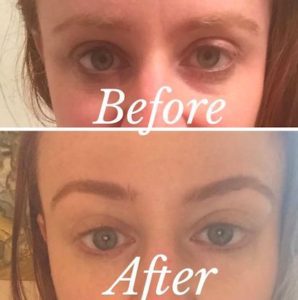
You can also use henna to tint your brows.
The henna process is very similar to using a mustache or beard dye. You’ll want to mix 2-3 tablespoons of organic henna to a bowl and add water to it to make a paste-like consistency.
When the product has been applied the brow, grab clingwrap and flatten it over the brows to make sure the henna doesn’t get dry. Leave it on for 2-3 hours.
Does this all seem overwhelming and you just want something easy?
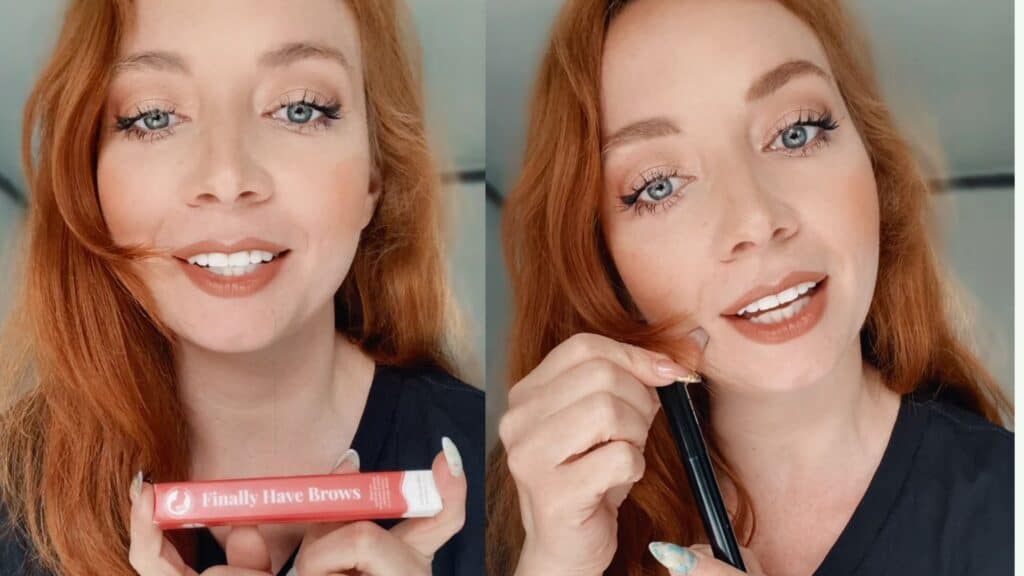
This is why How to be a Redhead developed Finally Have Brows. The tinted eyebrow gel for redheads!
Learn more about Finally Have Brows:
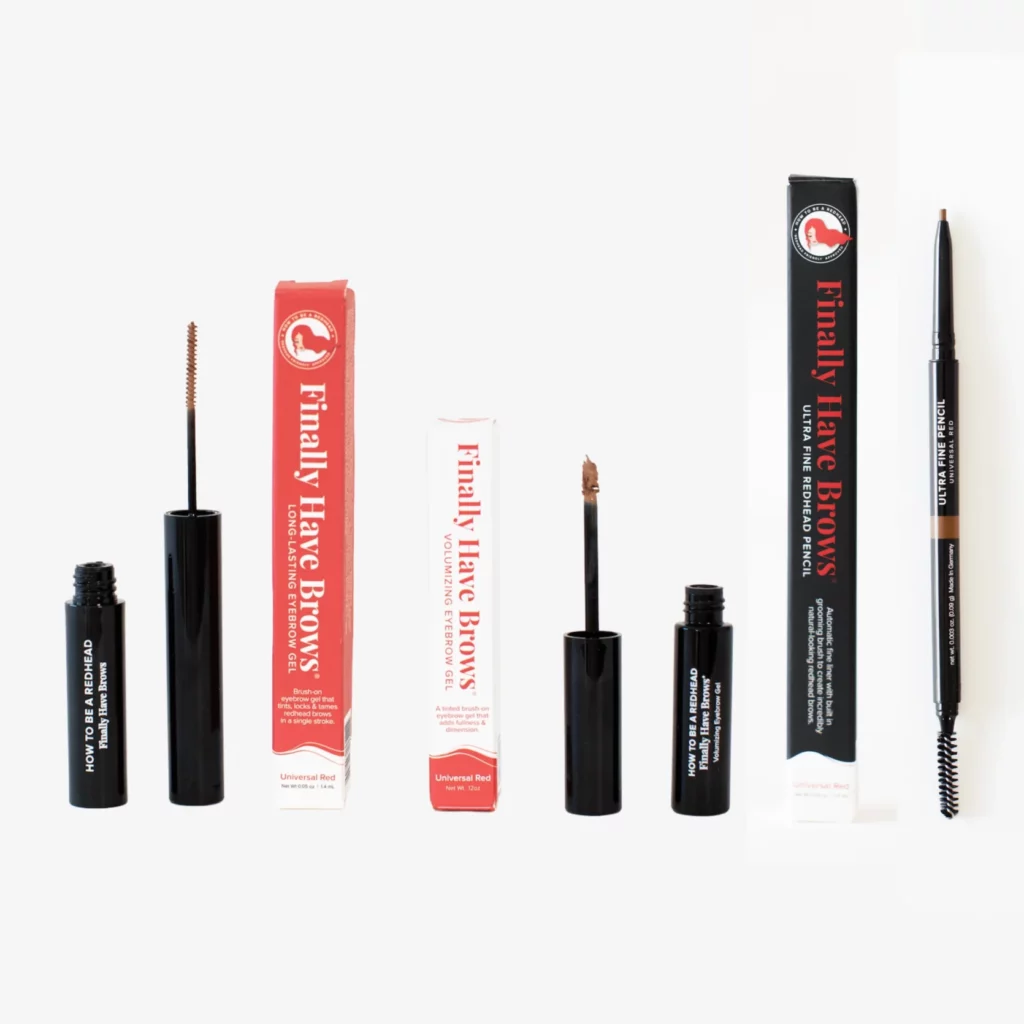
For the perfect brows, use the Ultra Fine Redhead Brow Pencil’s automatic liner with a built-in grooming brush to fill in brows. Then, use the Volumizing to tint, condition and fluff. Lastly, use the Longwearing to tint, tame and lock. Get ready for fluffy, full, and always natural-looking redhead brows.
What’s next for Finally Have Brows?
AVAILABLE NOW: Finally Have Brows Clear Brow Gel. It’s best for redheads who want to embrace their natural brow color but desire a fuller/more even look. Tip: This product can also be applied after using Finally Have Brows gels or pencil in Universal Red.
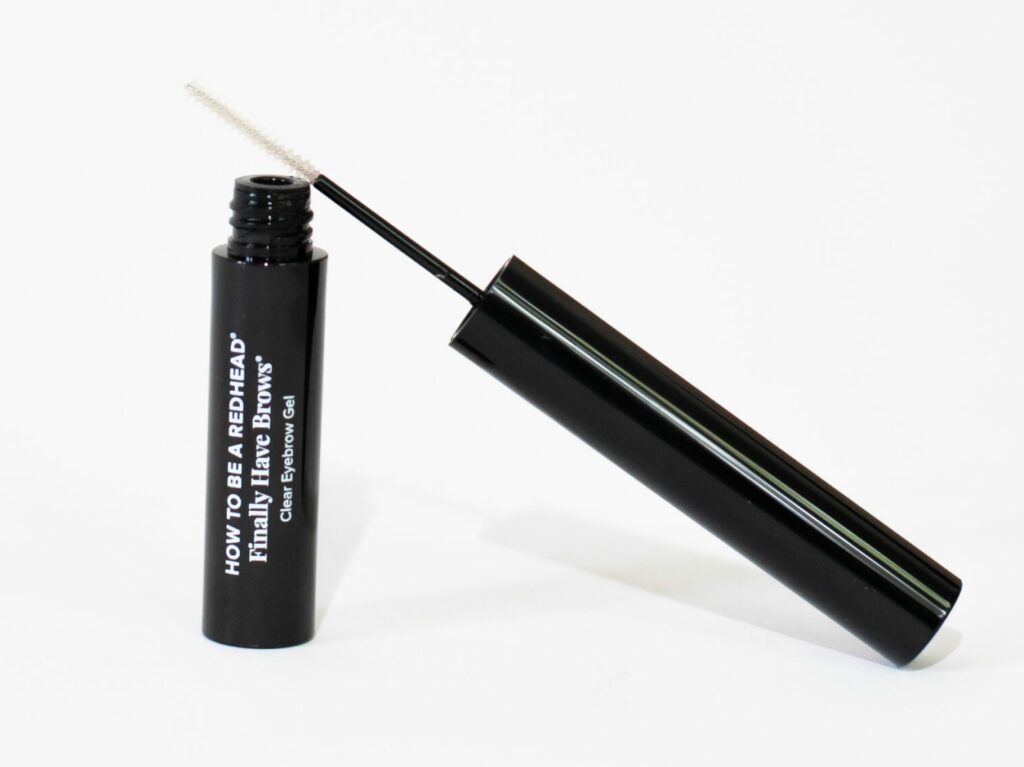
Finally Have Brows® - Clear Brow Gel: $25
Do you tint your eyebrows? Leave a comment below!
*If you have super sensitive skin (like most redheads do), please consult with your dermatologist before doing DIY treatments at home.

