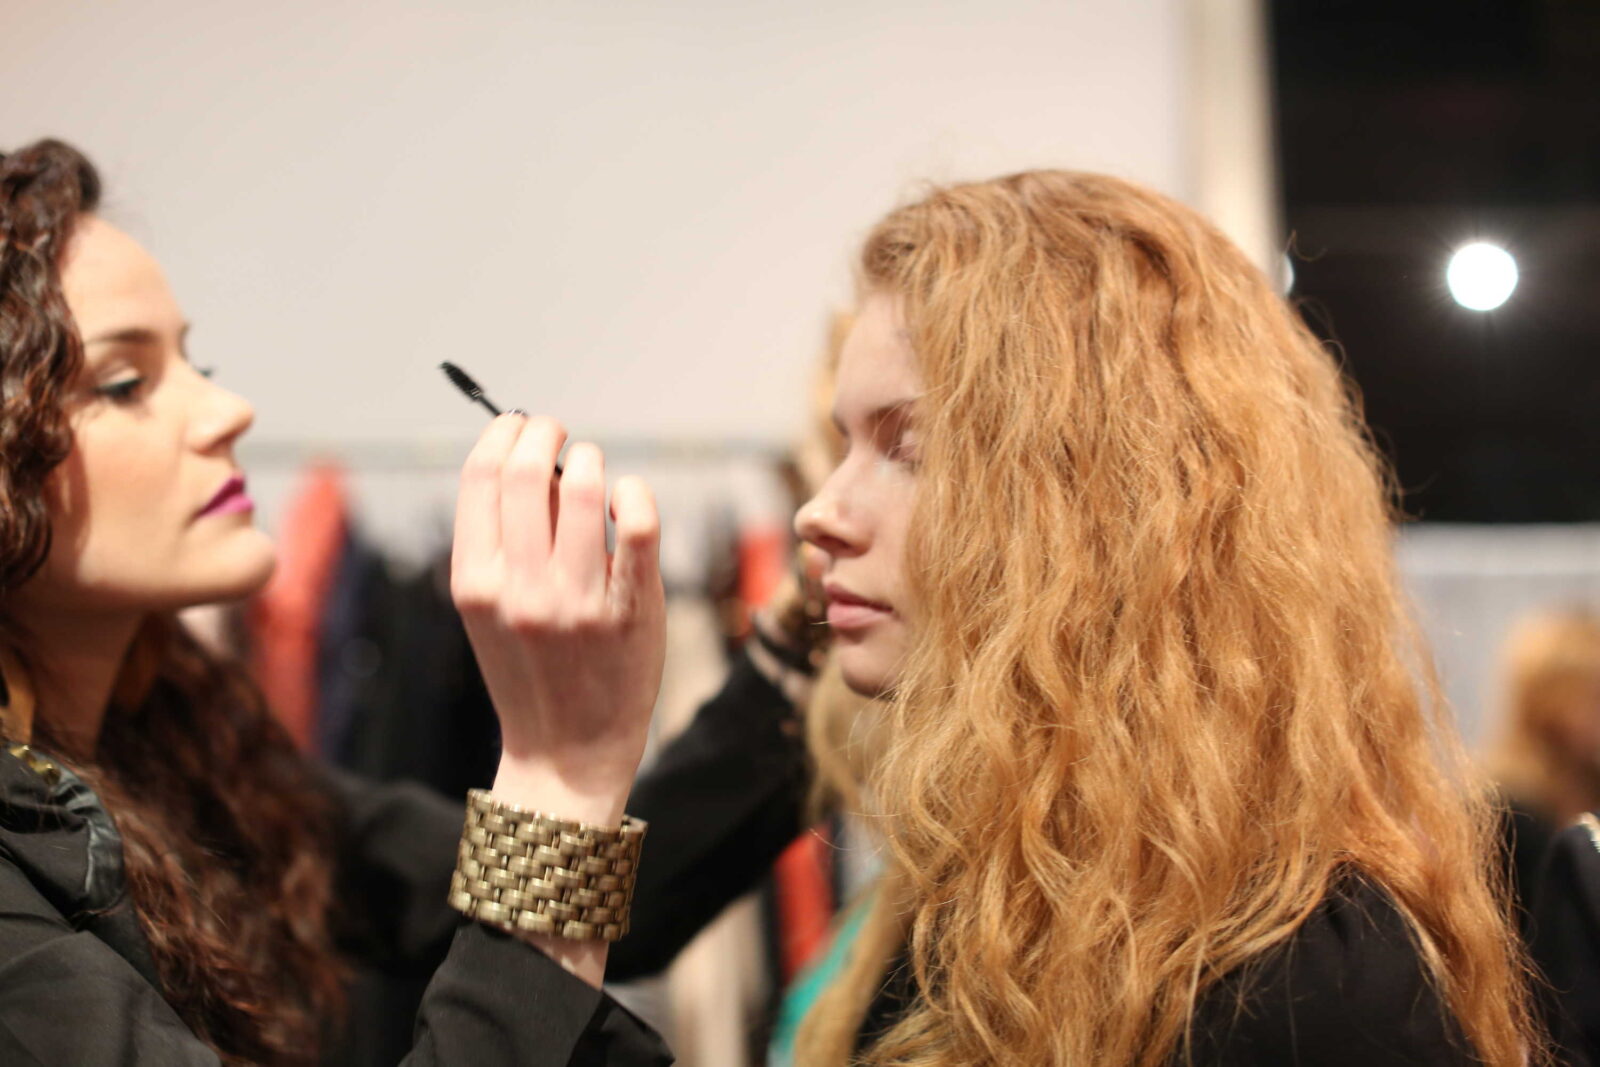
False lashes don’t have to be applied in a full strip – as I suggested in Part 2, you can cut them up and apply them any way that’s comfortable for you. But if you don’t feel like hacking a strip to bits or just want a little added “oomph,” individual cluster lashes might be perfect for you. And while they take a little practice (which can be hard for redheads!) and finessing to apply correctly, but it’s well worth the effort!
Individual and cluster lashes come in different lengths, and it’s best to be on the shorter side of things when you’re starting out so they blend in seamlessly with your natural lashes (in some cases, I’ve even trimmed them a bit). My preference is for knot-free flares which have no visible “bulb” at the base of each cluster (that tiny dot can be very noticeable). I get the most mileage out of Ardell Duralash Naturals in short and medium.
Here’s how to get those tiny little suckers on:
1. Curl your natural lashes and apply a coat or two of mascara.
2. Pick your poison! Here’s a tip for redheads who love the natural look: you can buy lash clusters in a soft brown shade if you want thicker lashes but a subtle, “no mascara” effect – the lighter clusters are also a great choice if you plan to add a colored mascara.
3. Gently free the lash cluster from the packaging (I like to use tweezers) and pluck away any excess glue.
4. Dip the very end of the lash into a drop of the lash glue. You only need a TINY amount! (I use the same glue that I use with strips for one-day wear, but Ardell also makes a product called LashTite which is for wearing lash clusters up to a week or more, and requires its own remover.)
5. Look down into a mirror to help with accurate placement.
6. Apply the cluster directly into the natural lash root and up against your natural lashes, focusing on any gaps or areas that you want to thicken (I usually emphasize the outer corner and center of the eye). Try not to apply them above the lash line, where they’ll be noticeable.
7. Use tweezers or your fingertips to gently pinch the cluster against the natural lash, to ensure that they lie at the same angle. (You can also gently swipe the base of cluster against the natural lash as you place it, to give it something else to stick to.
8. You can apply them where needed, or layer them – but be sure to check occasionally to make sure that they are not sticking out at odd angles. Be sure to use shorter (or trimmed) flares as you work inward.
9. One the glue is completely dry, gently curl if needed and add a light coat of mascara to marry the clusters with the natural lashes.
To get a full review of Parts 1-3:
READ: LASHING OUT, PART 1: HOW TO ACHIEVE A FULL FABULOUS FRINGE USING YOUR NATURAL LASHES
READ: LASHING OUT, PART 2: APPLYING STRIP LASHES (WITH YOUR SANITY INTACT!)
Rock it like a Redhead, ladies!
Photo Credit: Kara Kochalko, © How to be a Redhead